Estimated Reading Time: 6 Minutes.
Cleaning can get some people excited and for some it is something they dread. Although it may not be something you look forward to, it is something that needs to be done with every home. Cleaning your entire home includes your kitchen, bedrooms, bathrooms, front yard, and your backyard. When you start your cleaning checklist you shouldn’t forget your baseboard, casing and all of the interior doors in your home. These are parts of your home that you use daily and are sometimes overlooked when it comes to cleaning. In this blog we will give you cleaning tips for cleaning baseboards and interior doors.
How to Clean Baseboards
Depending on what type of baseboard style you have, it could be tricky to clean those tiny little grooves. Each ledge on a baseboard can get unsightly with dust, dirt and everything and anything else you can think of. Here we will explain the best way to clean baseboards.
Step 1 – Vacuum
You want to start by vacuuming all of the baseboards to remove any dust or dirt that has settled on each groove.
Step 2 – Wipe with Rag
After all of the dust is removed from the baseboards you can start using cleaning products and wiping the baseboards to achieve the sparkly clean look. There are many different ways to clean your trim, you can use a sponge, a cloth, whatever you have available to you. Take a bucket or bin and mix together warm water, dish soap and vinegar. Dip your sponge, or cloth in the mixture, making sure to wring out all of the excess water. You don’t want to put too much water on your baseboard because it could damage them.
Step 3 – Let Dry
Once you give the baseboard a good wipe and all dust is eliminated, you will have to take a dry cloth and wipe it again to remove any excess water.
Step 4 – Prevent
The last step to cleaning baseboard is protecting and preventing your baseboard from accumulating excessive dust or dirt that could make your baseboards its new home. Have you ever wondered how to clean baseboard with dryer sheets? After you complete the first two steps of cleaning your baseboards, they should be bare of any dirt or dust. You can take a dryer sheet and gently drag the sheet against the baseboard. The dryer sheet not only gives off a nice scent but it prevents the static that attracts dust and dirt. Now you know how to clean baseboards and keep them clean longer with dryer sheets. They are a key factor in keeping your baseboards clean by protecting them.
Below are two different style of baseboard that may differ in cleaning techniques.
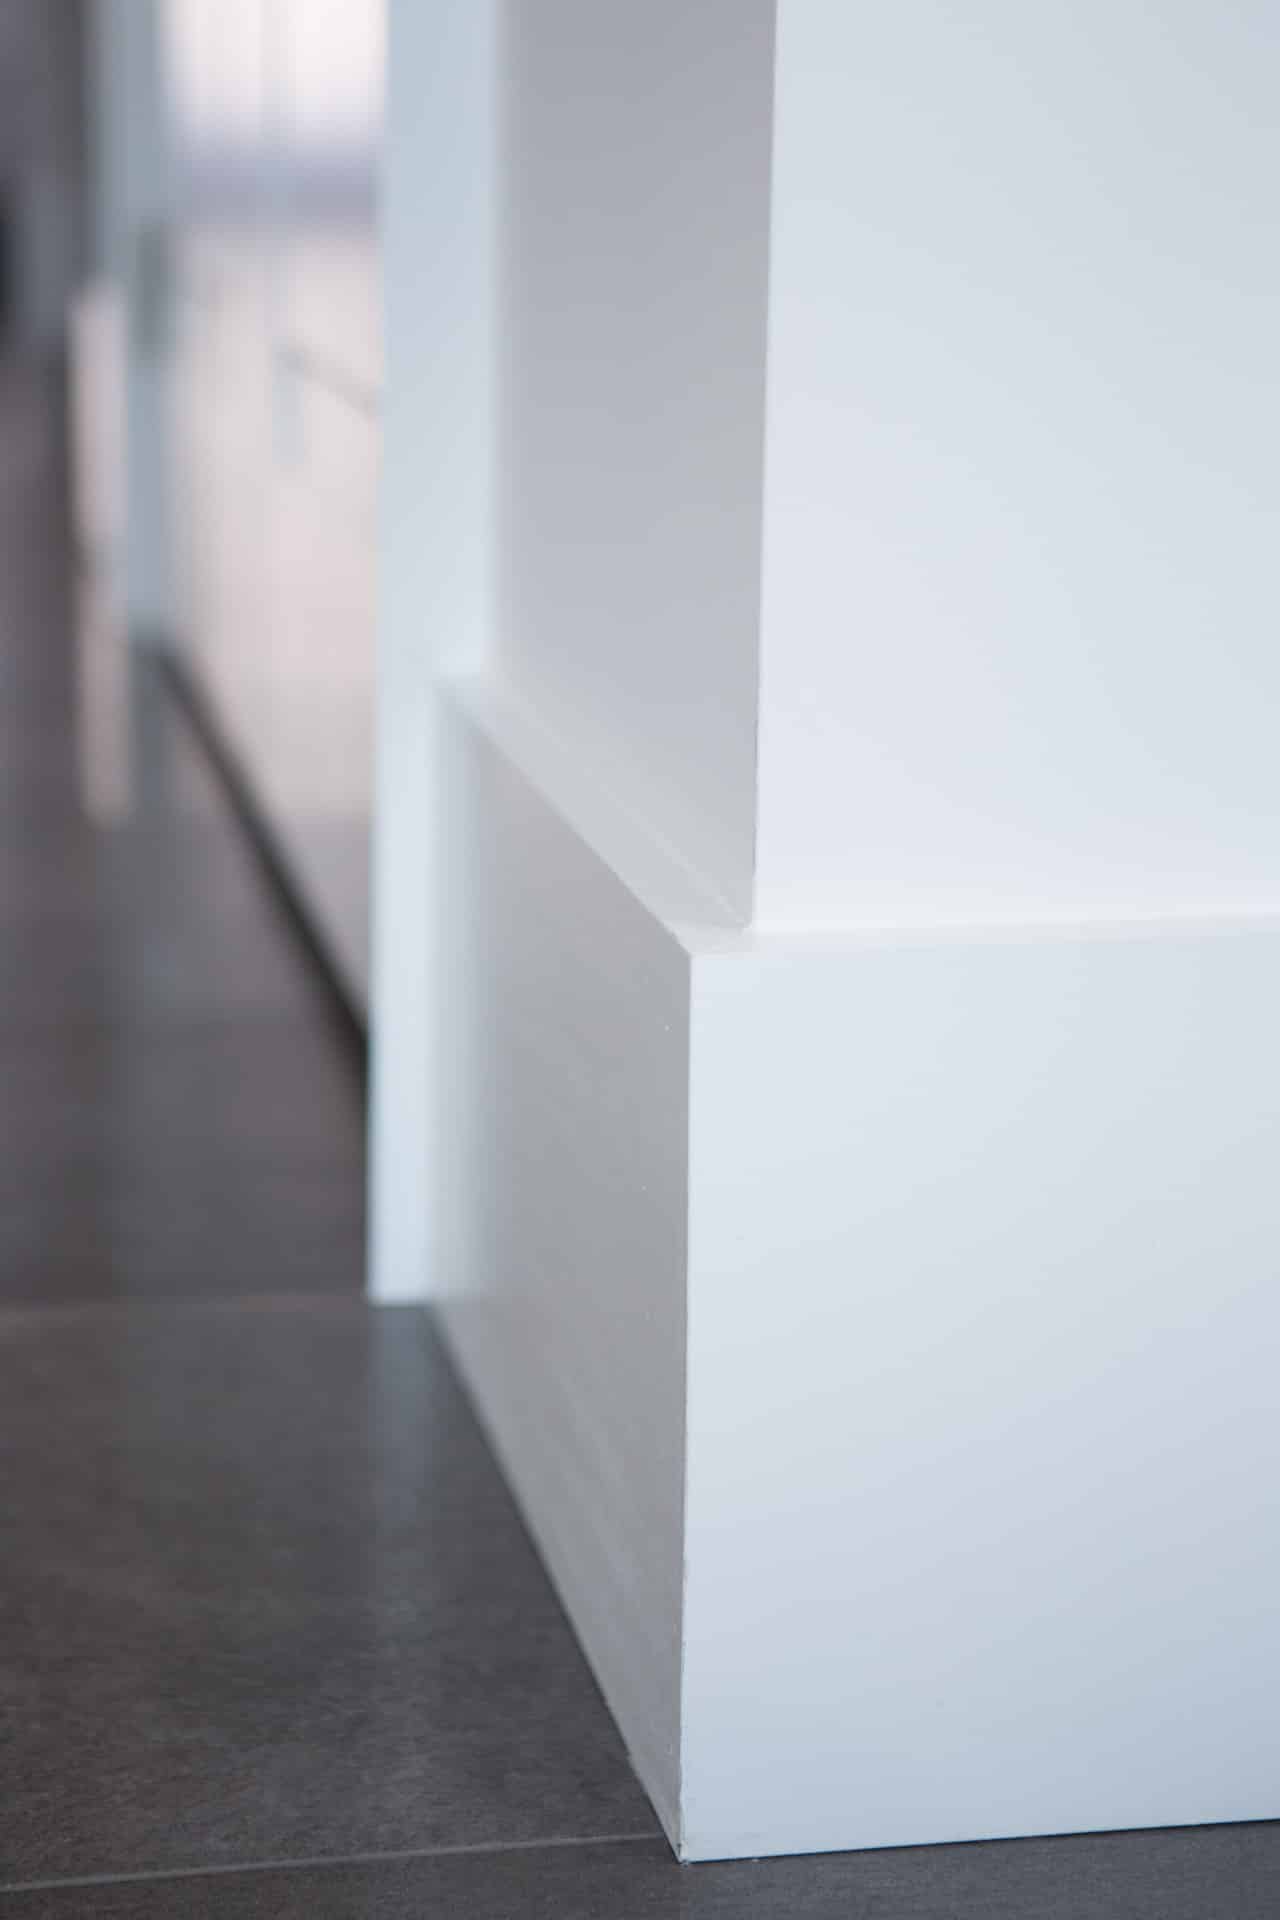
This is one of our most popular styles of baseboard, called the Eased one Edge Baseboard. As you can see this baseboard style would be the easiest style to clean as there is only the one edge at the top. Although this larger ledge is the perfect spot for dust to collect.

This very detailed baseboard style in this photo is our Ornamental profile. This style of baseboard has many more grooves and detail to it when compared to the Eased one Edge profile. Due to all the small edges and grooves this profile of baseboard may be a little more tedious to clean. With a baseboard style like this it is best to move slower at each step during your baseboard cleaning process.
How to Clean Interior Doors
Interior doors are no doubt the most touched and used part of your home. It is the way you get in and out of every room, these are one thing that must be a part of your cleaning checklist, and should be done more than once a year especially if you have pets or small children. Depending on what style of door you have your cleaning technique may differ slightly, like the baseboard styles. Here, we will explain how to clean dirty interior doors.
Vacuum
The first step to cleaning your doors is removing any dust or dirt that is laying on each panel. The best technique is typically to use the soft brush attachment for your vacuum hose that is intended to clean furniture and vents.
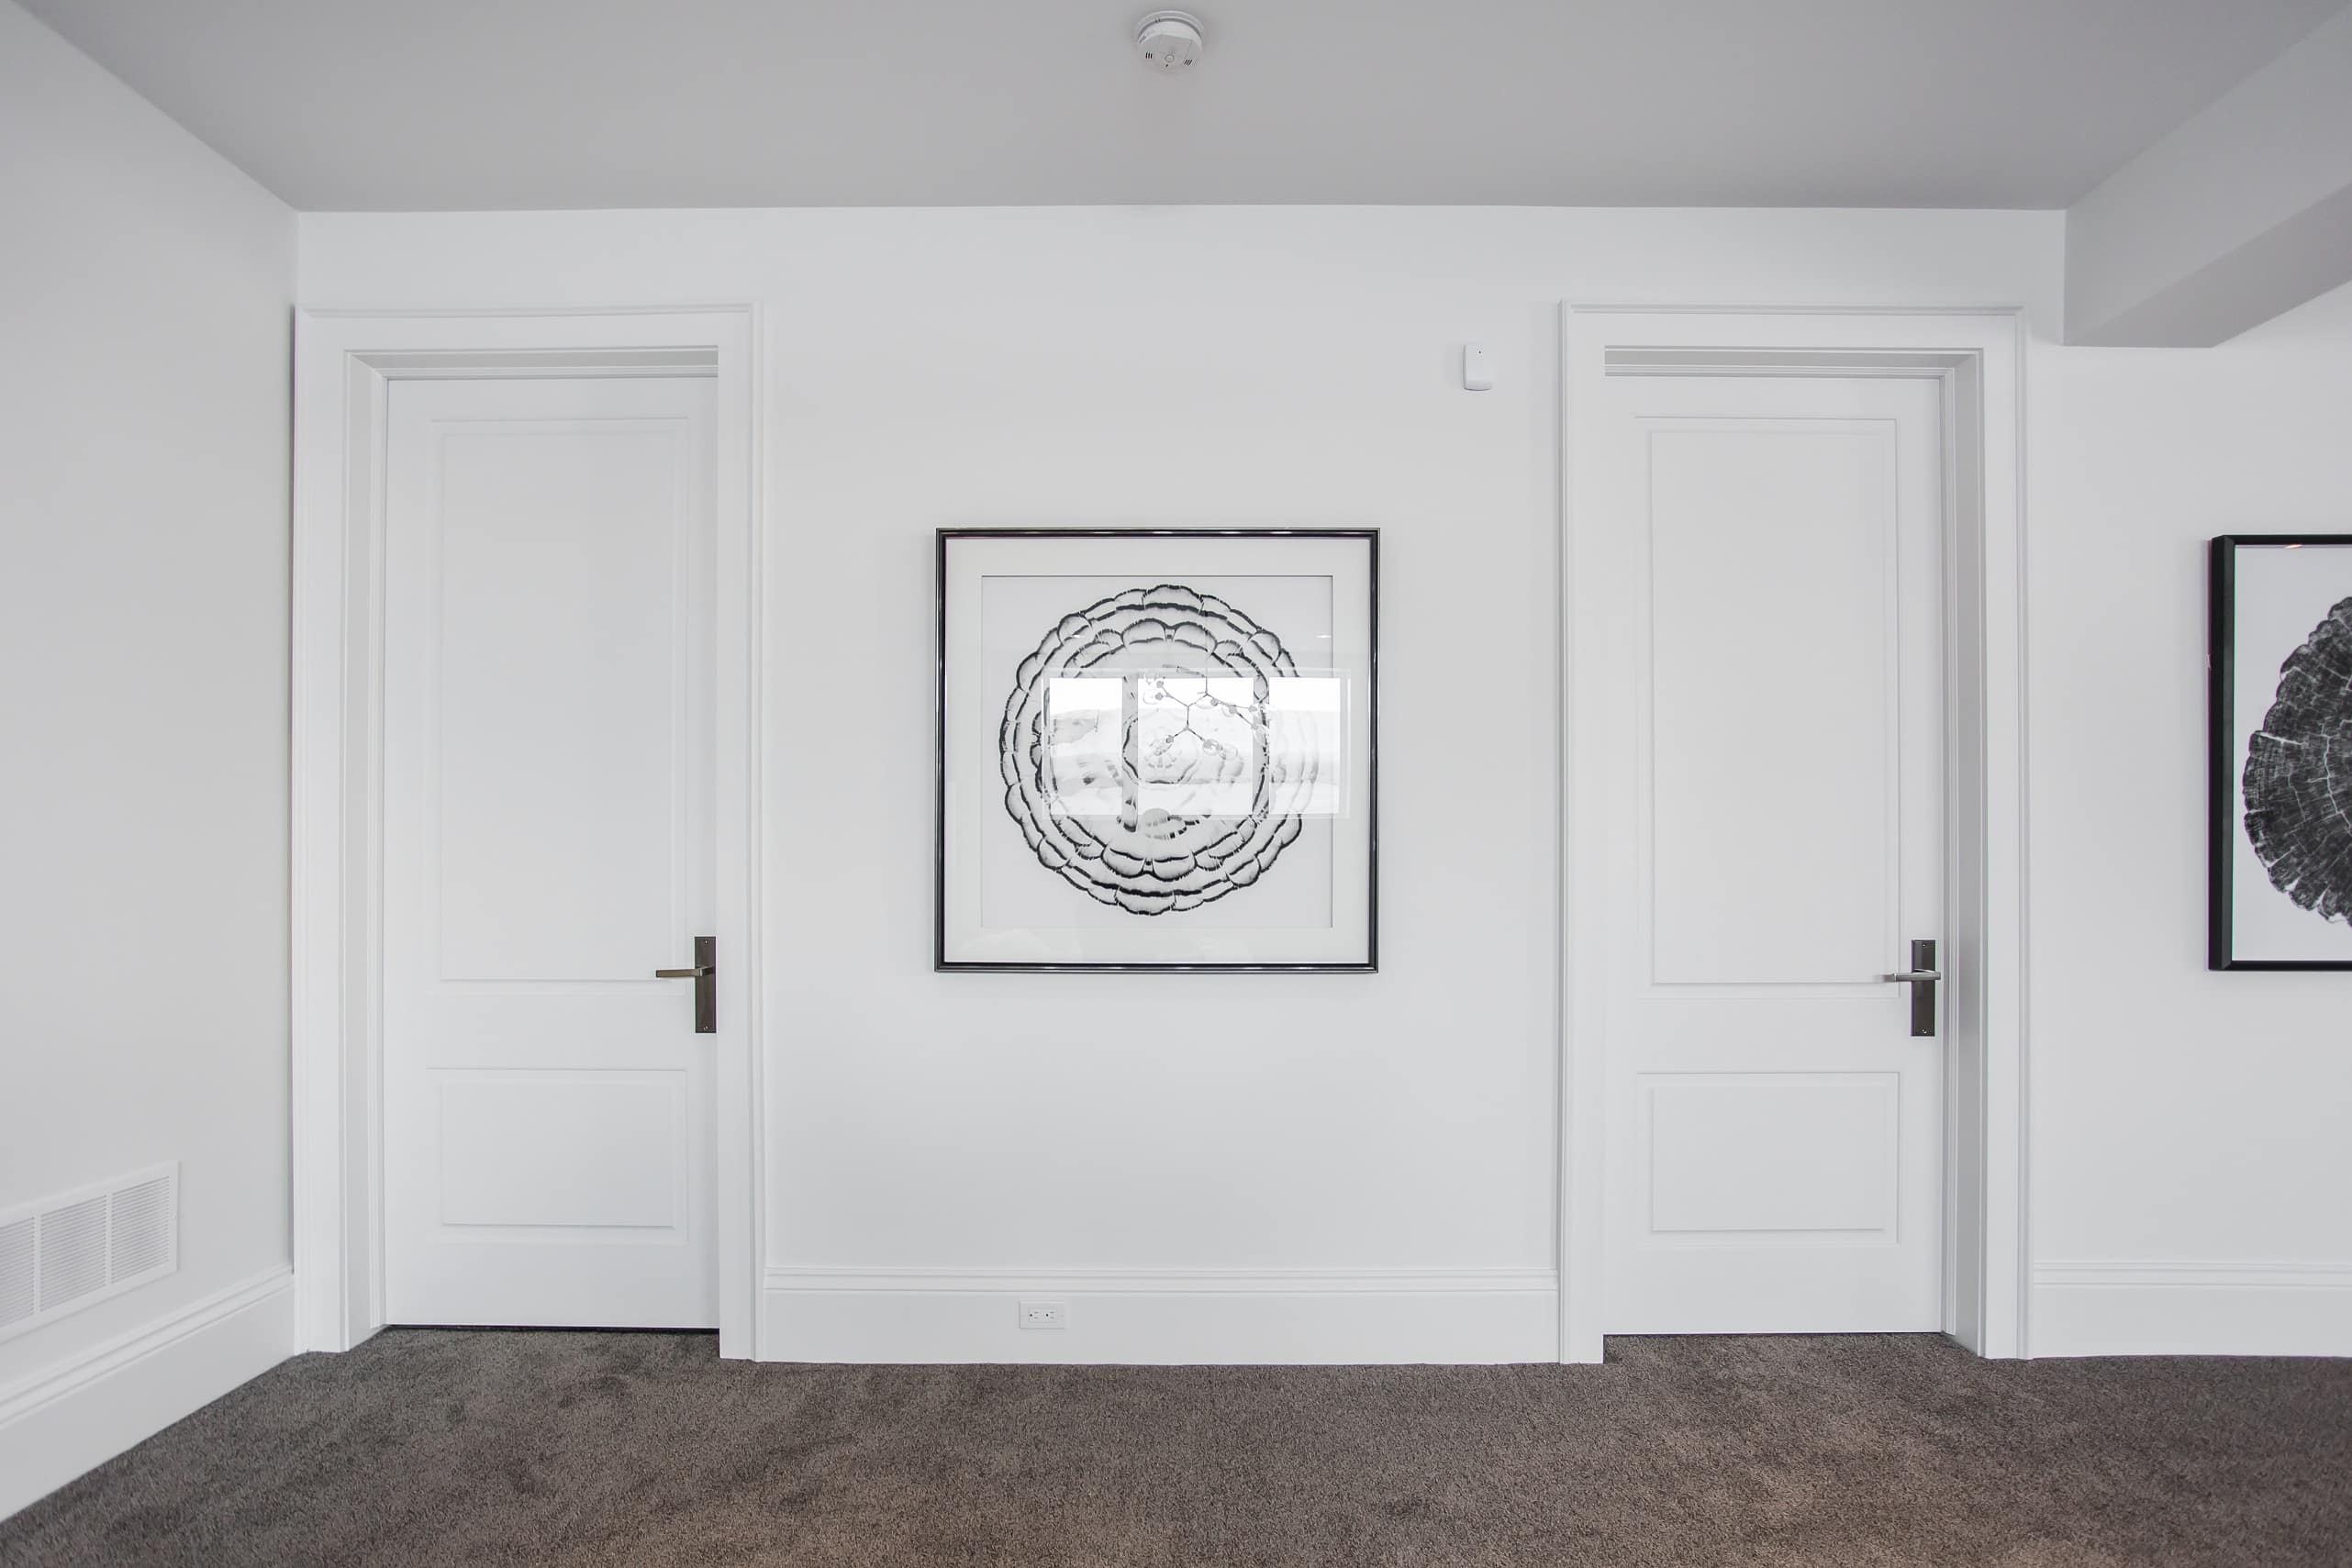
The most common places to find dirt on your interior doors are the edges of each panel. In the image above you can see a picture of two of our 2 panel smooth moulded panel doors. The panels are the rectangular shapes placed above each other on the doors. Do not forget to vacuum the outline of each panel of your doors. This is where the majority of dust will build up in the door.
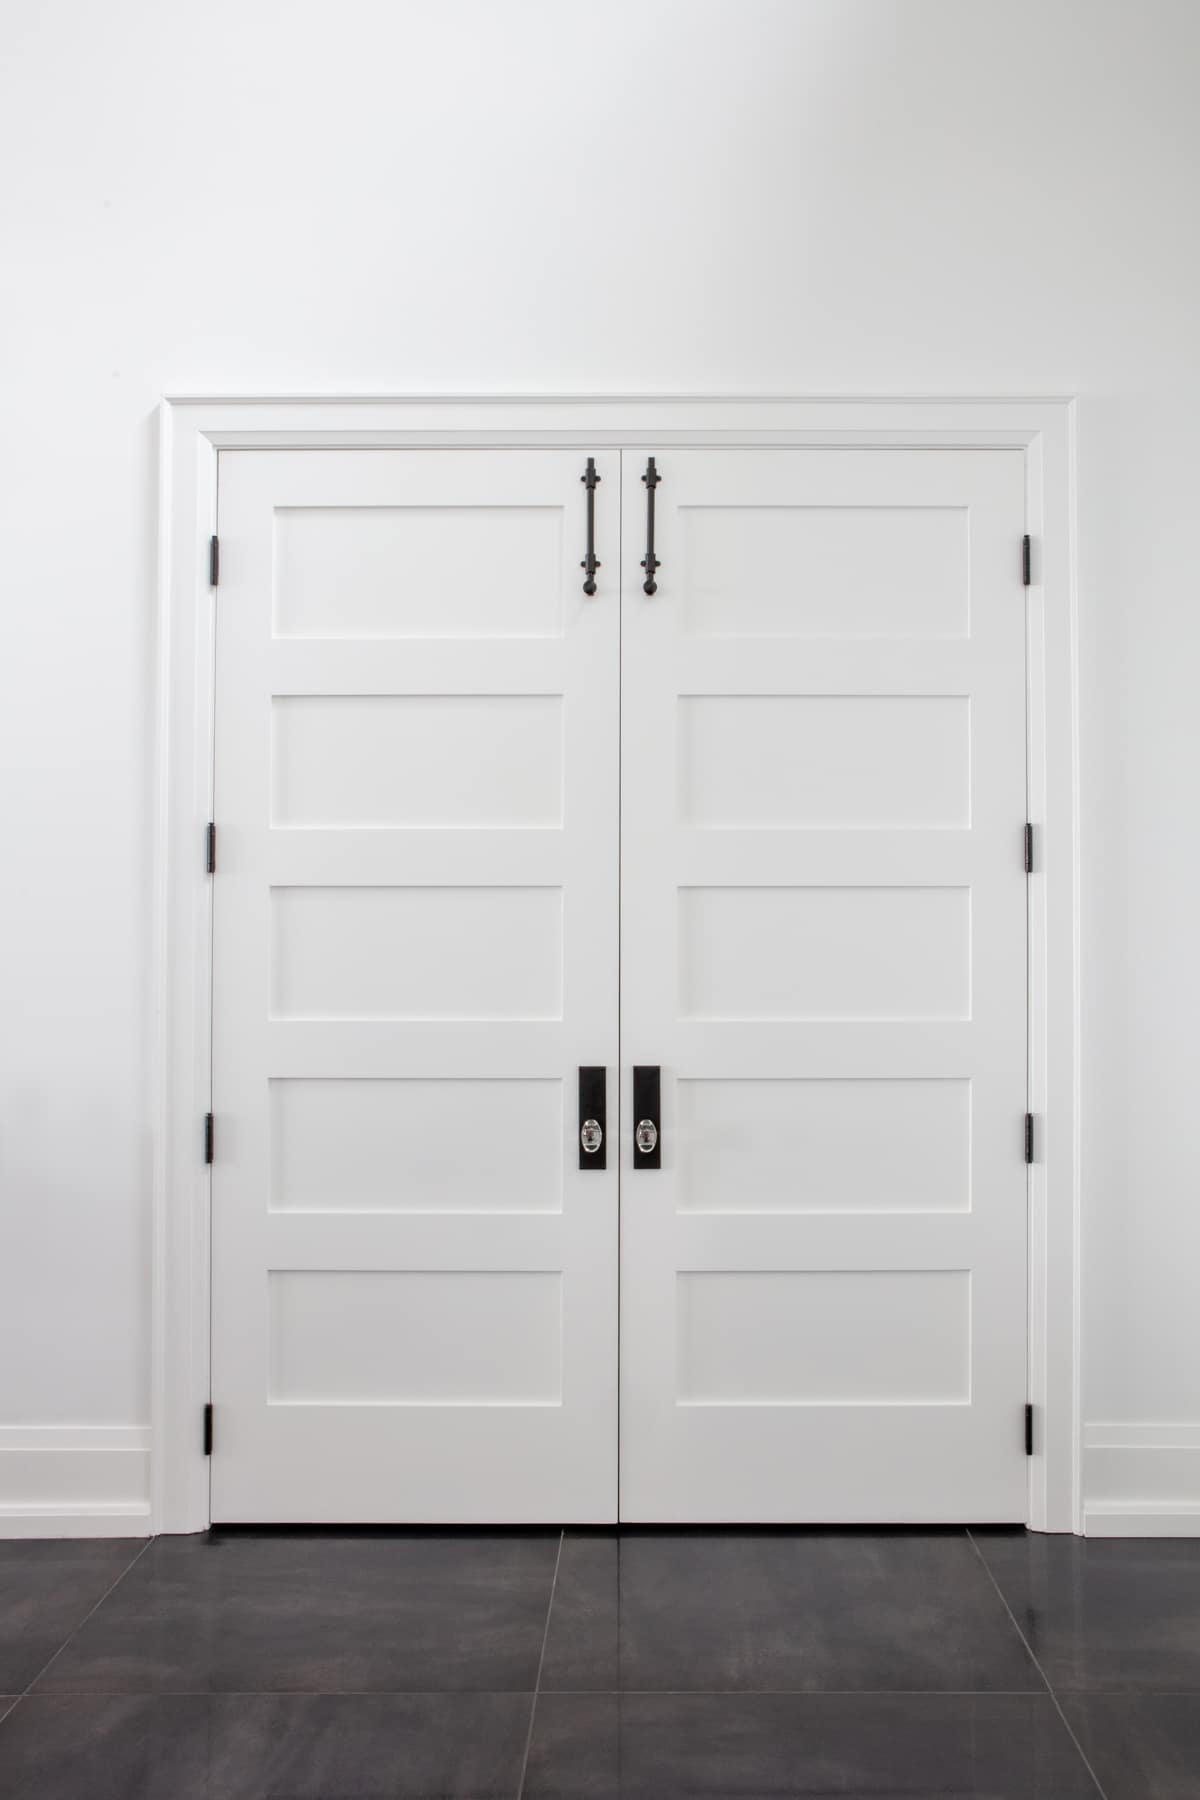
This is our 5 Panel Stile and Rail door. This style of door, compared to the 2 panel moulded panel door, has more areas for dust and dirt to collect. This means a little more vacuuming, cleaning and scrubbing. The more panels you have the more vacuuming you will be doing. But we think we can all justify a few extra seconds of vacuuming for these gorgeous panel details!

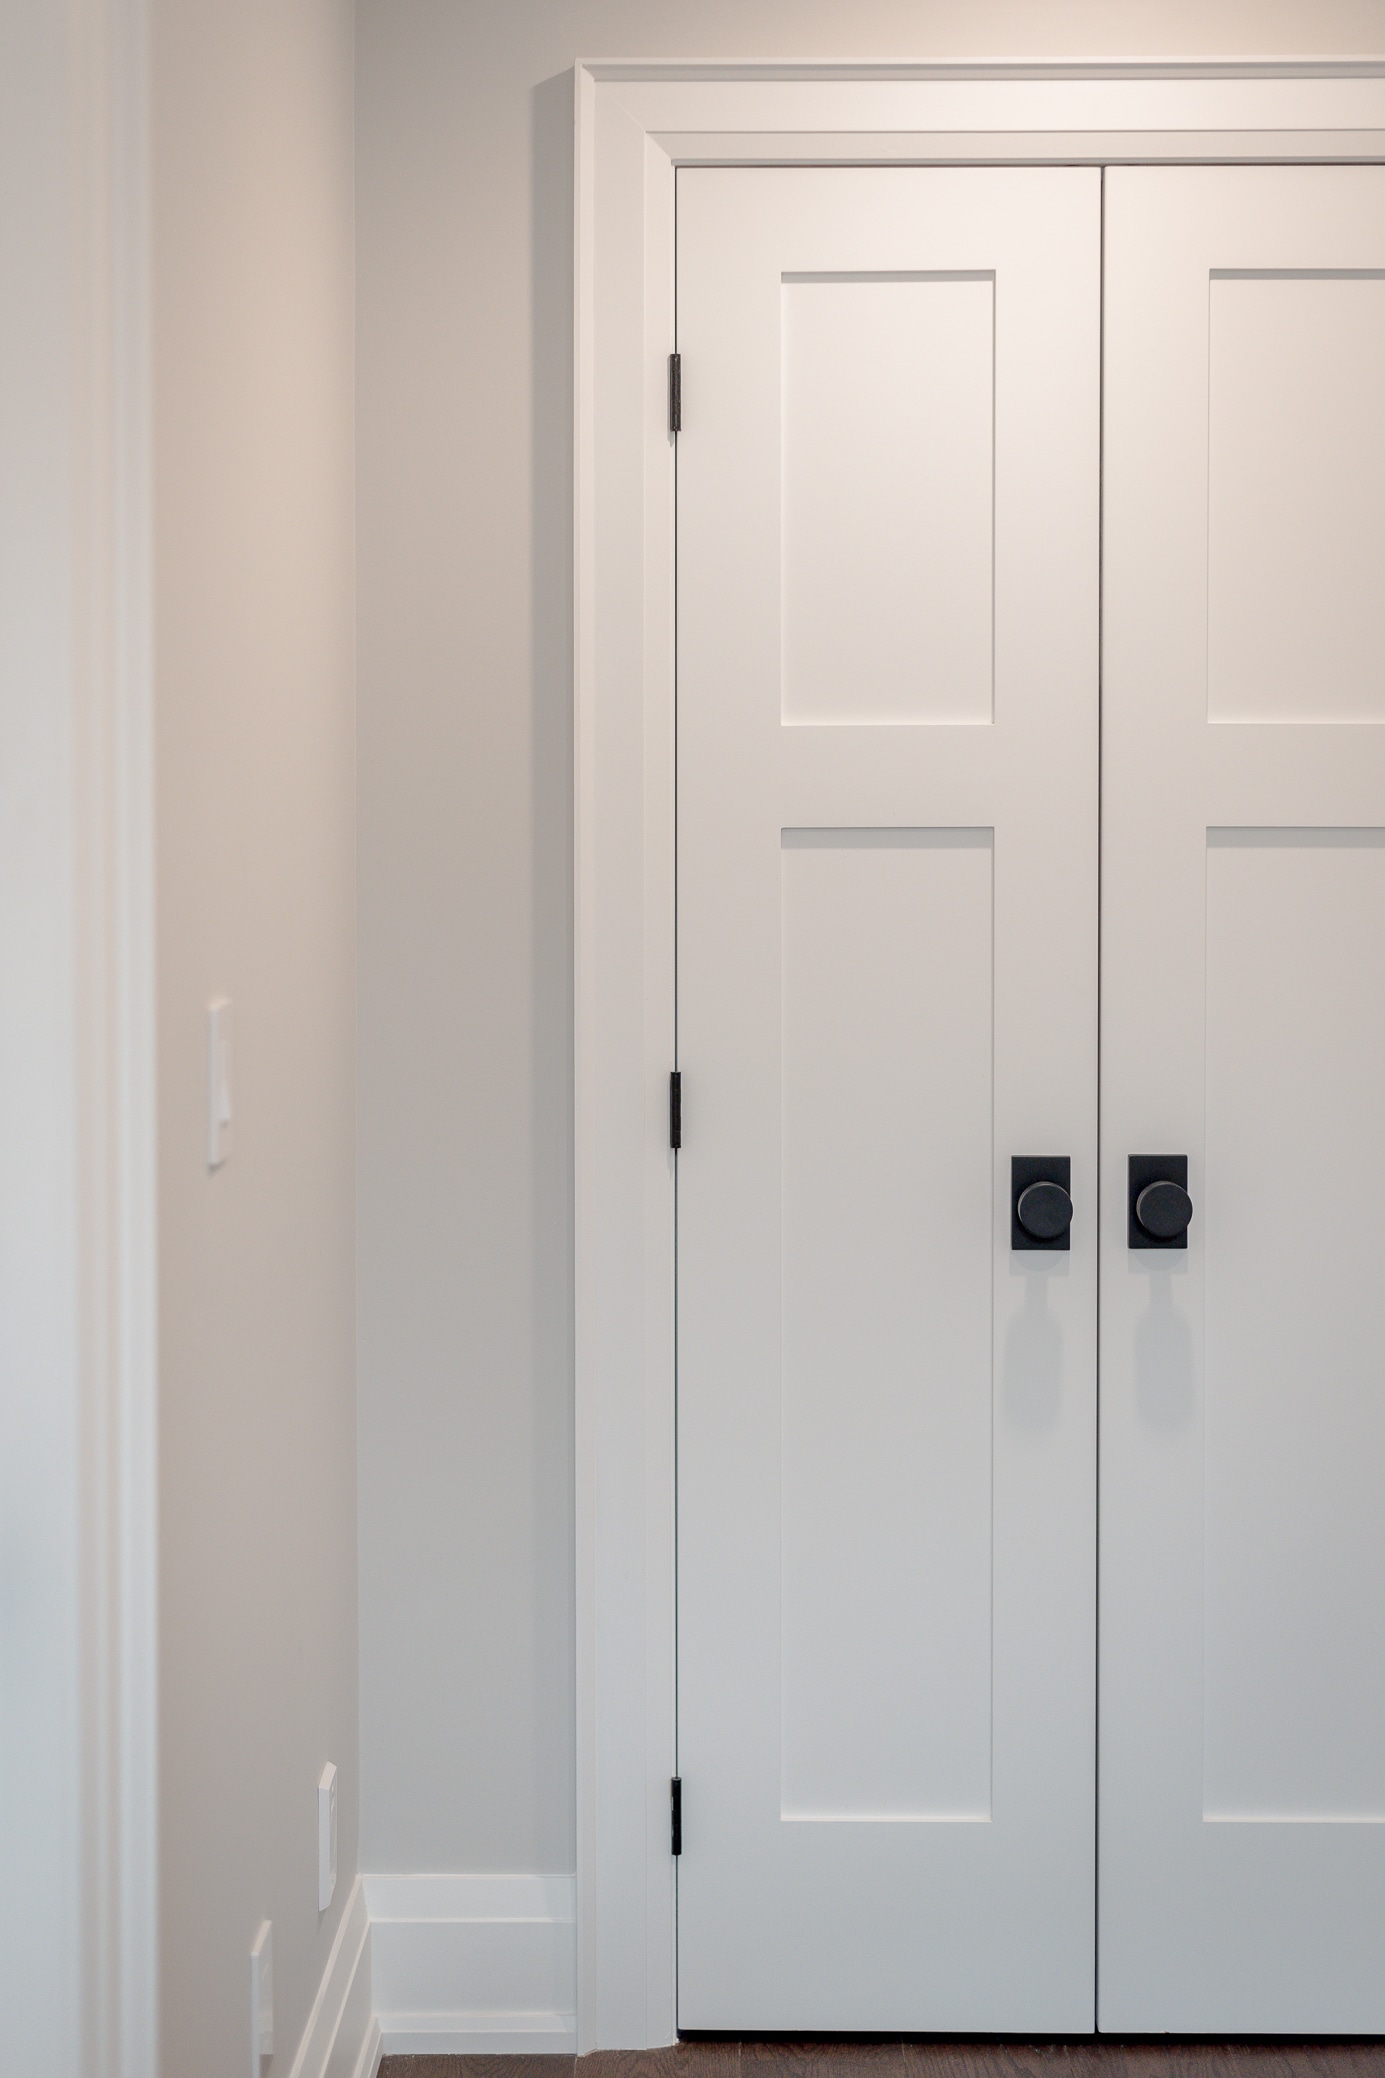
When address the panels, don’t forget to dust the hardware of the door which includes hinges and your door handle. Your door lever or door knob is the most touched spot on your door so you want this clean and disinfected, ideally more than once a year.
Step 1 – Prep Your Cleaning Station
Preparing your area to clean and catch any debris, dirt, or products is important to clean interior doors. Before you start using cleaning products on your dirty doors you should lay newspaper or towels below the doors.
Step 2 – Wipe your Doors
Take a damp cloth or sponge and gently wipe the entire door. This is to ensure that all of the dust and dirt is removed and now it is time to actually clean your doors.
Step 3 – Wipe Clean
For your next step to cleaning your interior doors, there are two options you can choose from.
1. You can take a multi-purpose cleaning product and spray the door while quickly taking a clean towel to wipe it off.
2. Take a large bowl, add warm water, soap or powdered tide laundry detergent and a sponge to clean. Squeeze out any excess product from the sponge and gently wipe the door.
Step 4 – Let Dry
The last step to cleaning interior doors is to dry the doors. This step is important because you don’t want to leave the door with any excess water as this could damage the door. Take a dry towel and simply wipe off the doors until they are dry.
Now you know how to clean interior doors, and how to clean baseboards. We bet your next weekend plans will be putting together your cleaning checklist. We hope these tips for cleaning your baseboard and interior doors help with your 2022 cleaning.